
How to Self Host Notesnook Sync Server in 2026
An easy guide to setting up the sync server via Docker Compose.

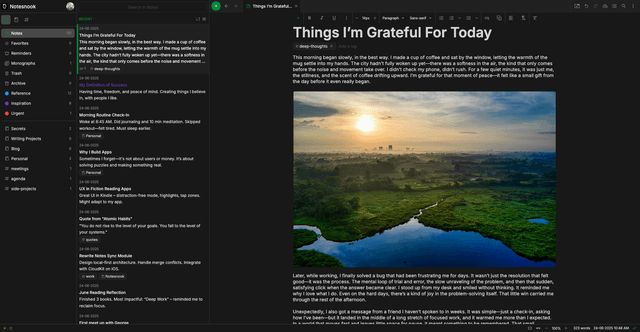
Introduction to Notesnook
Notesnook is an Open Source note taking applicaiton that offers markdown support. Notesnook offers end-to-end encrytion of your notes. ETE is the foundation of Notesnook, but also allows you to lock certain notes in a vault to further protect your information. While Notesnook does offer free and paid subscription plans, they do offer the ability to self host their sync server which itself is Free and Open Source.
The sync server itself is in a beta phase, however, I have been using it and testing it since February of 2024. As a self hoster you get everything you would normally get in the full premium plan for free. This allows you to take control of your own data while still using an amazing full featured end-to-end encrypted notes app.
Tools Required
A linux server (Ubuntu 24.04 LTE is what I use)
Docker compose installed
DNS Service of your choice (I use Cloudflare).
A Reverse Proxy (I use NGINX Proxy Manager
Prerequesites
Notesnook Sync Server stack is made up of the following components:
a.) A Validate container that is a lightweight pre-flight configuration validtor. It runs a short bash script before the rest of the Notesnook stack starts to ensure all required environment variables are defined. If any required variable is missing, the container then exits with an error so the deployment fai8ls early rather than letting the server start in a broken state.
b.) Notesnook DB (Mongo DB 7.012)
c.) An Initiate-rs0 container based on the same Mongo DB image from above. This contianer is responsible for initializing the Notesnook-DB replica set used by the Notesnook DB. MongoDB replica sets are normally used for high availability and transaction support. Even in single-node deployments, Notesnook requires MongoDB to run as a replica set because certain database features (like multi-document transactions) only work when replica sets are enabled.
d.) Notesnook-s3 (minio/minio:RELEASE.2024-07-29T22-14-52Z)
e.) Setup-S3 (minio/mc:RELEASE.2024-07-26T13-08-44Z). The setup-s3 container automatically configures the MinIO object storage used by Notesnook for attachments. Specifically, it connects to the MinIO server and creates the required storage bucket where Notesnook will store uploaded files. MinIO is an S3-compatible object storage service, so this container prepares the storage backend in the same way you would prepare an AWS S3 bucket.
f.) Identity Server (streetwriters/identity). This handles authentication for the Notesnook Stack.
g.) Notesnook-Server (streetwriters/notesnook-sync). This is the actual sync server.
h.) SSE-Server (streetwriters/sse). This is Notesnook’s Event server which handles real time notifications sync.
i.) Monograph Server (streetwriters/monograph). Monograph is Notesnook’s own publishing server that lets you publish notes to share with other people.
j.) Autoheal (willfarrell/autoheal). The autoheal container automatically restarts unhealthy containers in the Notesnook stack. It acts as a watchdog that monitors container health checks and restarts any container that Docker marks as unhealthy. This helps keep the stack running reliably without requiring manual intervention if a service becomes unresponsive.Ports needed:
a.) 9000 - Minio Console Port
b. ) 9090 - Minio Data API Port
c.) 8264 - Identity Server Port.
d.) 5264 - Notesnook Sync Server port.
e.) 7264 - SSE Server port.
f.) 6264:3000 - Monograph Server port.
In docker ports are declared as xxxx:xxxx. The digits on the left of the colon are external to the contianer and the digits on the right side of the colon is internal. The external ports can be anyhing as long as they are available and open on your firewall for your Linux host.The following FQDNS are needed:
The Notesnook app needs to be pointed to four (4) FQDNs (servers) in order to connect and allow you to log in.
a.) An Sync Server: notesnook.example.com
b.) An Auth Server: notesnook-auth.example.com
c.) An Events Server: notesnook-events.example.com
d.) A Monograph Server: notesnook-monograph.example.com
e.) An Attachments Server (minio container) notesnook-attachments.example.com
I recommend creating a free cloudflare account and setting up a domain. Once you have the domain you can install the cloudflare tunnel on the same Linux host that you are hosting your Notesnook stack. The reason for this is you want each fqdn from above to point to the local IP address of your reverse proxy. Then in your reverse proxy you will want to create a proxy host for each FQDN pointing to the correct port# and local IP address for the service.
Docker Compose File
x-server-discovery: &server-discovery
  NOTESNOOK_SERVER_PORT: 5264
  NOTESNOOK_SERVER_HOST: notesnook-server
  IDENTITY_SERVER_PORT: 8264
  IDENTITY_SERVER_HOST: identity-server
  SSE_SERVER_PORT: 7264
  SSE_SERVER_HOST: sse-server
  SELF_HOSTED: 1
  IDENTITY_SERVER_URL: ${AUTH_SERVER_PUBLIC_URL}
  NOTESNOOK_APP_HOST: ${NOTESNOOK_APP_PUBLIC_URL}

x-env-files: &env-files
  - .env

services:
  validate:
    image: vandot/alpine-bash
    entrypoint: /bin/bash
    env_file: *env-files
    command:
      - -c
      - |
        # List of required environment variables
        required_vars=(
          "INSTANCE_NAME"
          "NOTESNOOK_API_SECRET"
          "DISABLE_SIGNUPS"
          "SMTP_USERNAME"
          "SMTP_PASSWORD"
          "SMTP_HOST"
          "SMTP_PORT"
          "AUTH_SERVER_PUBLIC_URL"
          "NOTESNOOK_APP_PUBLIC_URL"
          "MONOGRAPH_PUBLIC_URL"
          "ATTACHMENTS_SERVER_PUBLIC_URL"
        )

        # Check each required environment variable
        for var in "$${required_vars[@]}"; do
          if [ -z "$${!var}" ]; then
            echo "Error: Required environment variable $$var is not set."
            exit 1
          fi
        done

        echo "All required environment variables are set."
    # Ensure the validate service runs first
    restart: "no"

  notesnook-db:
    image: mongo:7.0.12
    hostname: notesnook-db
    volumes:
      - dbdata:/data/db
    networks:
      - notesnook
    command: --replSet rs0 --bind_ip_all
    depends_on:
      validate:
        condition: service_completed_successfully
    healthcheck:
      test: echo 'try { rs.status() } catch (err) { rs.initiate() }; db.runCommand("ping").ok' | mongosh mongodb://localhost:27017 --quiet
      interval: 40s
      timeout: 30s
      retries: 3
      start_period: 60s

  notesnook-s3:
    image: minio/minio:RELEASE.2024-07-29T22-14-52Z
    ports:
      - 9000:9000
    networks:
      - notesnook
    volumes:
      - s3data:/data/s3
    environment:
      MINIO_BROWSER: "on"
    depends_on:
      validate:
        condition: service_completed_successfully
    env_file: *env-files
    command: server /data/s3 --console-address :9090
    healthcheck:
      test: timeout 5s bash -c ':> /dev/tcp/127.0.0.1/9000' || exit 1
      interval: 40s
      timeout: 30s
      retries: 3
      start_period: 60s

  # There's no way to specify a default bucket in Minio so we have to
  # set it up ourselves.
  setup-s3:
    image: minio/mc:RELEASE.2024-07-26T13-08-44Z
    depends_on:
      - notesnook-s3
    networks:
      - notesnook
    entrypoint: /bin/bash
    env_file: *env-files
    command:
      - -c
      - |
        until mc alias set minio http://notesnook-s3:9000 ${MINIO_ROOT_USER:-minioadmin} ${MINIO_ROOT_PASSWORD:-minioadmin}; do
          sleep 1;
        done;
        mc mb minio/attachments -p

  identity-server:
    image: streetwriters/identity:latest
    ports:
      - 8264:8264
    networks:
      - notesnook
    env_file: *env-files
    depends_on:
      - notesnook-db
    healthcheck:
      test: wget --tries=1 -nv -q  http://localhost:8264/health -O- || exit 1
      interval: 40s
      timeout: 30s
      retries: 3
      start_period: 60s
    environment:
      <<: *server-discovery
      MONGODB_CONNECTION_STRING: mongodb://notesnook-db:27017/identity?replSet=rs0
      MONGODB_DATABASE_NAME: identity

  notesnook-server:
    image: streetwriters/notesnook-sync:latest
    ports:
      - 5264:5264
    networks:
      - notesnook
    env_file: *env-files
    depends_on:
      - notesnook-s3
      - setup-s3
      - identity-server
    healthcheck:
      test: wget --tries=1 -nv -q  http://localhost:5264/health -O- || exit 1
      interval: 40s
      timeout: 30s
      retries: 3
      start_period: 60s
    environment:
      <<: *server-discovery
      MONGODB_CONNECTION_STRING: mongodb://notesnook-db:27017/?replSet=rs0
      MONGODB_DATABASE_NAME: notesnook
      S3_INTERNAL_SERVICE_URL: "http://notesnook-s3:9000"
      S3_INTERNAL_BUCKET_NAME: "attachments"
      S3_ACCESS_KEY_ID: "${MINIO_ROOT_USER:-minioadmin}"
      S3_ACCESS_KEY: "${MINIO_ROOT_PASSWORD:-minioadmin}"
      S3_SERVICE_URL: "${ATTACHMENTS_SERVER_PUBLIC_URL}"
      S3_REGION: "us-east-1"
      S3_BUCKET_NAME: "attachments"

  sse-server:
    image: streetwriters/sse:latest
    ports:
      - 7264:7264
    env_file: *env-files
    depends_on:
      - identity-server
      - notesnook-server
    networks:
      - notesnook
    healthcheck:
      test: wget --tries=1 -nv -q  http://localhost:7264/health -O- || exit 1
      interval: 40s
      timeout: 30s
      retries: 3
      start_period: 60s
    environment:
      <<: *server-discovery

  monograph-server:
    image: streetwriters/monograph:latest
    ports:
      - 6264:3000
    env_file: *env-files
    depends_on:
      - notesnook-server
    networks:
      - notesnook
    healthcheck:
      test: wget --tries=1 -nv -q  http://localhost:3000/api/health -O- || exit 1
      interval: 40s
      timeout: 30s
      retries: 3
      start_period: 60s
    environment:
      <<: *server-discovery
      API_HOST: http://notesnook-server:5264
      PUBLIC_URL: ${MONOGRAPH_PUBLIC_URL}

  autoheal:
    image: willfarrell/autoheal:latest
    tty: true
    restart: always
    environment:
      - AUTOHEAL_INTERVAL=60
      - AUTOHEAL_START_PERIOD=300
      - AUTOHEAL_DEFAULT_STOP_TIMEOUT=10
    depends_on:
      validate:
        condition: service_completed_successfully
    volumes:
      - /var/run/docker.sock:/var/run/docker.sock
networks:
  notesnook:

volumes:
  dbdata:
  s3data:
Each of the Notesnook containers with the “Streetwriters” images are set to latest, however, is this is in beta, I recommned using the latest beta image version at the time. As of this writing that is v1.0-beta.15. You can click here to find what the latest beta image is.
Environment Variable File
# Description: Name of your self hosted instance. Used in the client apps for identification purposes
# Required: yes
# Example: notesnook-instance-sg
INSTANCE_NAME=self-hosted-notesnook-instance

# Description: This secret is used for generating, validating, and introspecting auth tokens. It must be a randomly generated token (preferably >32 characters).
# Required: yes
# run openssl rand -hex 32 on your linux host to generate one
NOTESNOOK_API_SECRET=

# Description: Use this flag to disable creation of new accounts on your instance (i.e. in case it is exposed to the Internet).
# Required: yes
# Possible values: true/false
DISABLE_SIGNUPS=false

### SMTP Configuration ###
# SMTP Configuration is required for sending emails for password reset, 2FA emails etc. You can get SMTP settings from your email provider.

# Description: Username for the SMTP connection (most time it is the email address of your account). Check your email provider's documentation to get the appropriate value.
# Required: yes
SMTP_USERNAME=
# Description: Password for the SMTP connection. Check your email provider's documentation to get the appropriate value.
# Required: yes
SMTP_PASSWORD=
# Description: Host on which the the SMTP connection is running. Check your email provider's documentation to get the appropriate value.
# Required: yes
# Example: smtp.gmail.com
SMTP_HOST=
# Description: Port on which the the SMTP connection is running. Check your email provider's documentation to get the appropriate value.
# Required: yes
# Example: 465
SMTP_PORT=

# Description: Twilio account SID is required for sending SMS with 2FA codes. Learn more here: https://help.twilio.com/articles/14726256820123-What-is-a-Twilio-Account-SID-and-where-can-I-find-it-
# Required: no
TWILIO_ACCOUNT_SID=
# Description: Twilio account auth is required for sending SMS with 2FA codes. Learn more here: https://help.twilio.com/articles/223136027-Auth-Tokens-and-How-to-Change-Them
# Required: no
TWILIO_AUTH_TOKEN=
# Description: The unique string that we created to identify the Service resource.
# Required: no
# Example: VAaaaaaaaaaaaaaaaaaaaaaaaaaaaaaaaa
TWILIO_SERVICE_SID=

# Description: Add the origins for which you want to allow CORS. Leave it empty to allow all origins to access your server. If you want to allow multiple origins, seperate each origin with a comma.
# Required: no
# Example: https://app.notesnook.com,http://localhost:3000
NOTESNOOK_CORS_ORIGINS=

# Description: Add known proxies for incoming HTTP requests
# Required: no
# Example: 192.168.1.2,192.168.1.3
KNOWN_PROXIES=

# Description: This is the public URL for the web app, and is used by the backend for creating redirect URLs (e.g. after email confirmation etc).
# Note: the URL has no slashes at the end
# Required: yes
# Example: https://app.notesnook.com
NOTESNOOK_APP_PUBLIC_URL=https://app.notesnook.com
# Description: This is the public URL for the monograph frontend.
# Required: yes
# Example: https://monogr.ph
MONOGRAPH_PUBLIC_URL=http://localhost:6264
# Description: This is the public URL for the Authentication server. Used for generating email confirmation & password reset URLs.
# Required: yes
# Example: https://auth.streetwriters.co
AUTH_SERVER_PUBLIC_URL=http://localhost:8264
# Description: This is the public URL for the S3 attachments server (minio). It'll be used by the Notesnook clients for uploading/downloading attachments.
# Required: yes
# Example: https://attachments.notesnook.com
ATTACHMENTS_SERVER_PUBLIC_URL=http://localhost:9000

# Description: Custom username for the root Minio account. Minio is used for storing your attachments. This must be greater than 3 characters in length.
# Required: no
MINIO_ROOT_USER=
# Description: Custom password for the root Minio account. Minio is used for storing your attachments. This must be greater than 8 characters in length.
# Required: no
MINIO_ROOT_PASSWORD=
For the MONOGRAPH_PUBLIC_URL, AUTH_SERVER_PUBLIC_URL and ATTACHMENTS_SERVER_PUBLIC_URL should be set to the FQDNs discussed above.
Creating your first account and Logging in
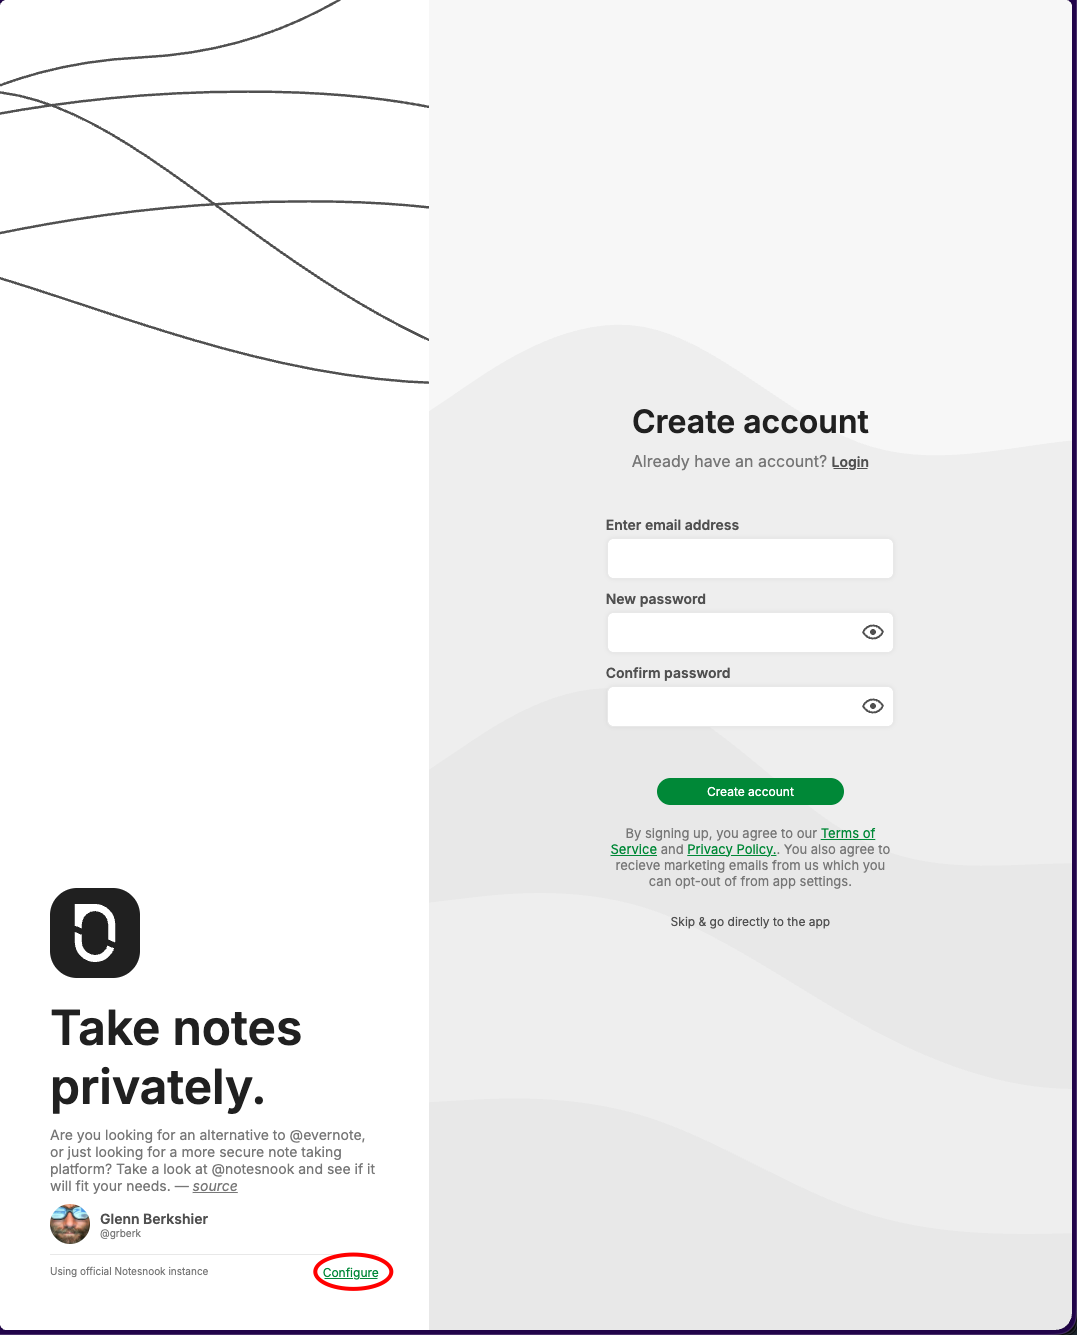
When you first land on https://app.notesnook.com you will see this page. You need to click on green configure link on the lower right hand corner.

You will land on this page where it will askk you for the the four FQDNs I listed above:
a.) An Sync Server: notesnook.example.com
b.) An Auth Server: notesnook-auth.example.com
c.) An Events Server: notesnook-events.example.com
d.) A Monograph Server: notesnook-monograph.example.com
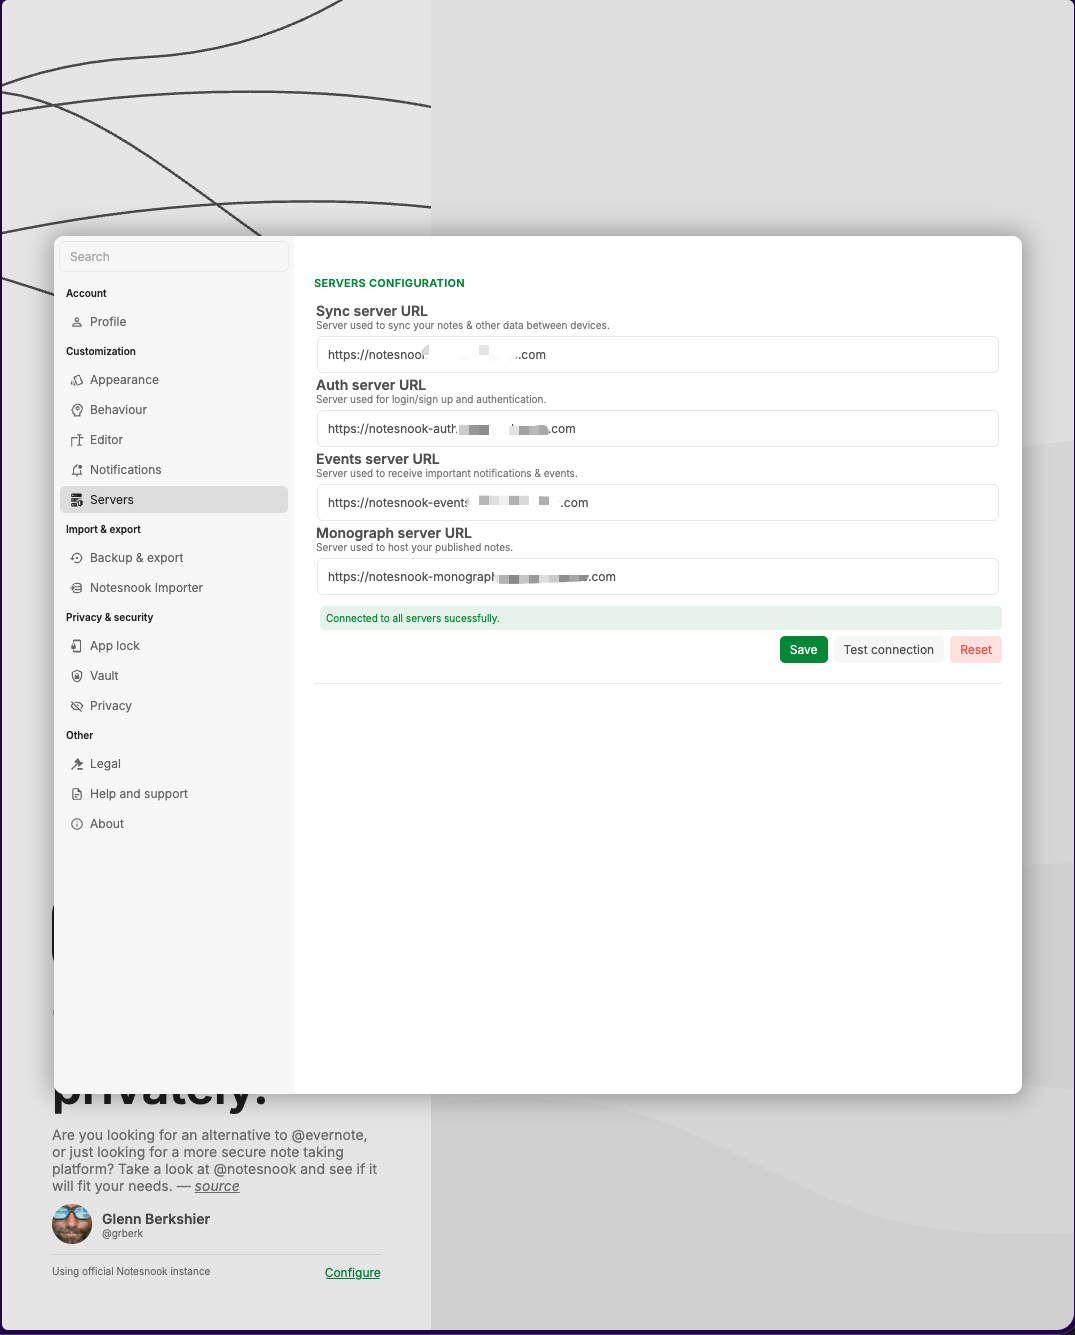
You need to click “Test Connection” first before saving. Then once the test completes succesfully you can click save.
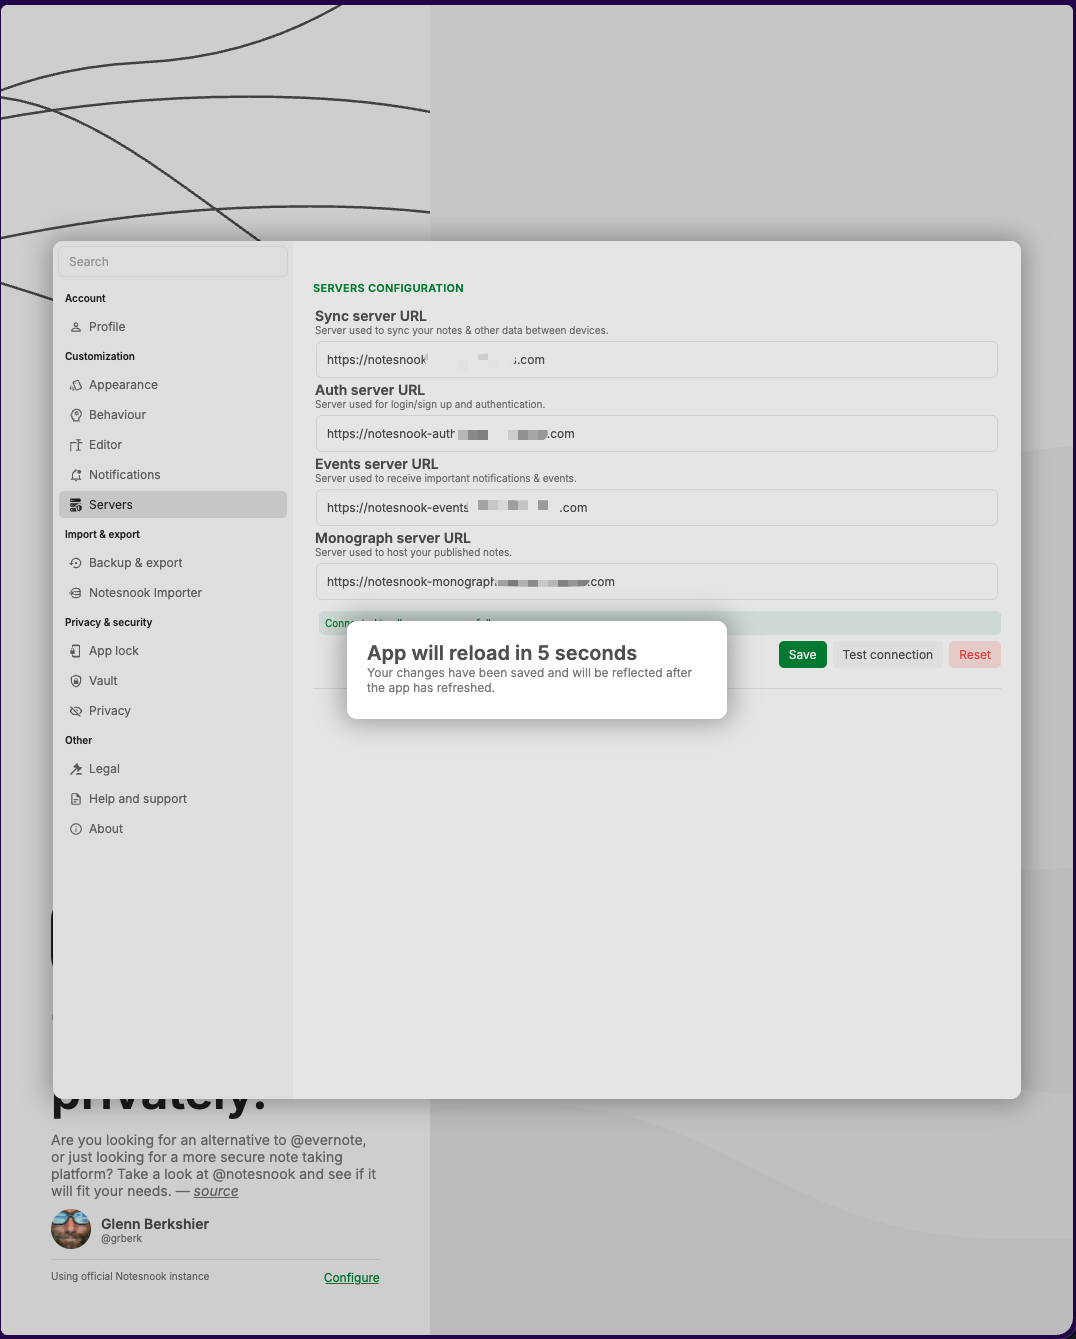
You’ll see “App will reload” message and then the create an account screen:

You will need to create your account and click “Create Account”.
At this point you should be logged in:
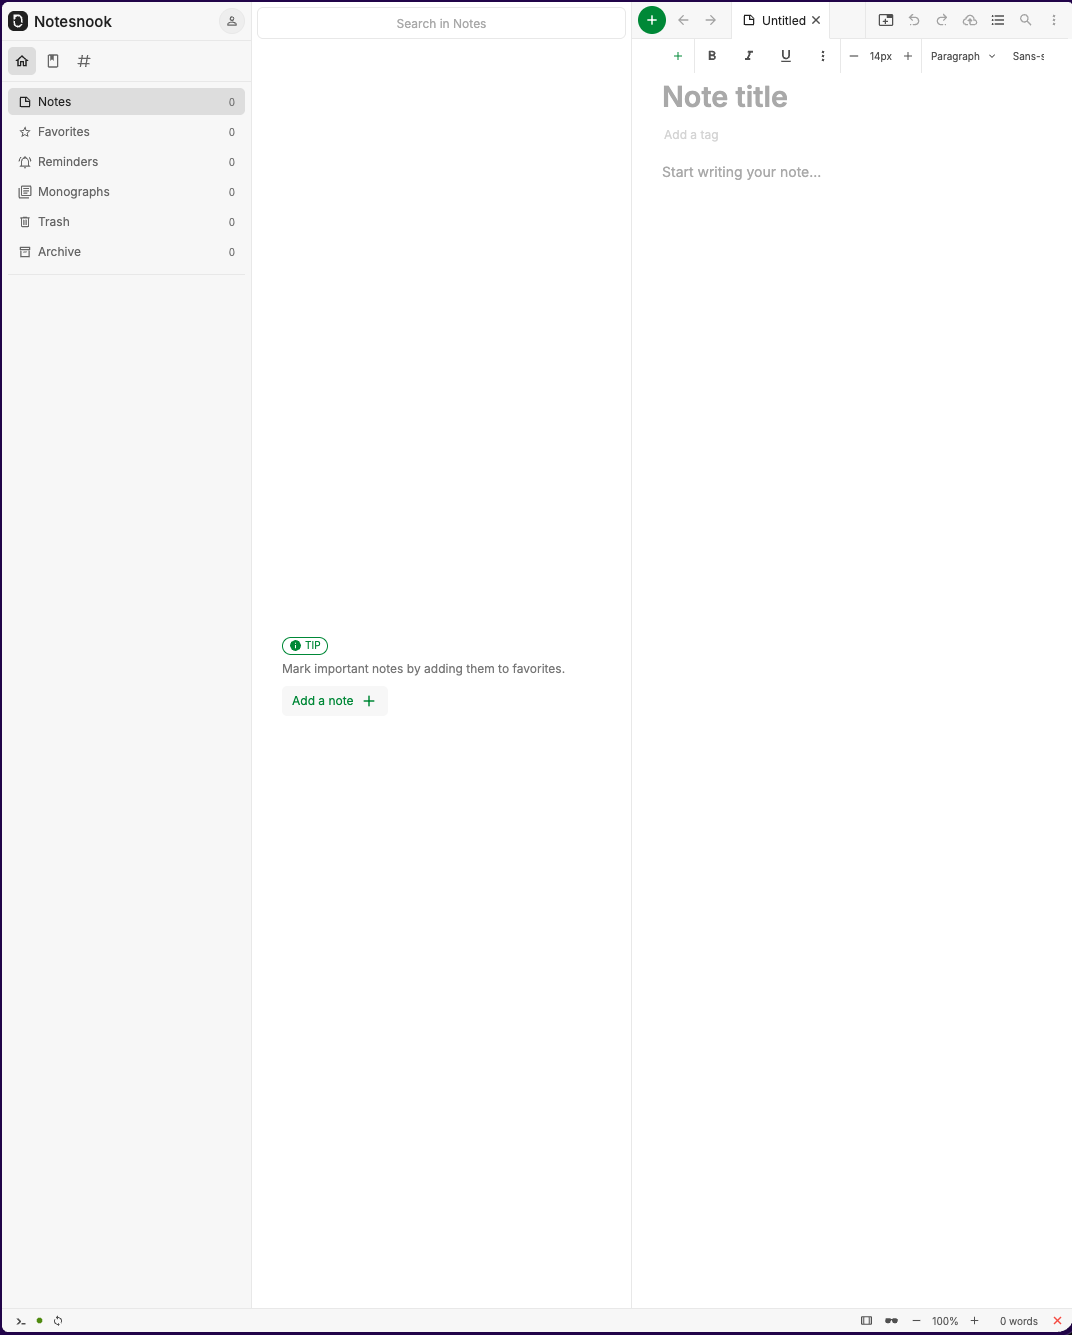
Setup your Two-Factor Authenticaton
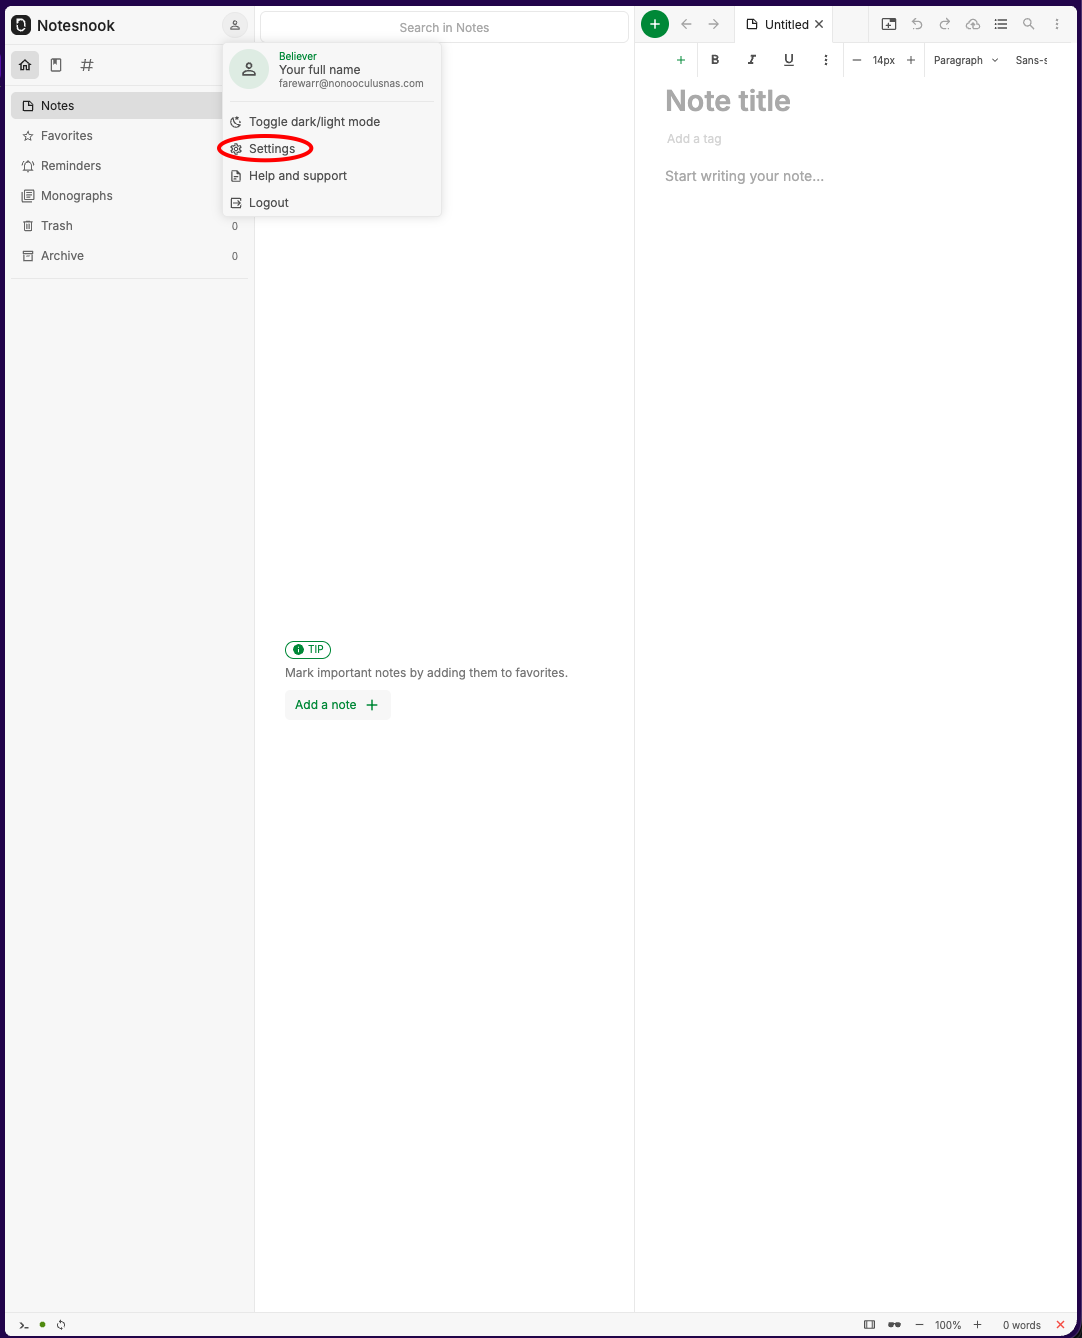
Click on the Avitar in the upper right hand corner and choose “Settings”
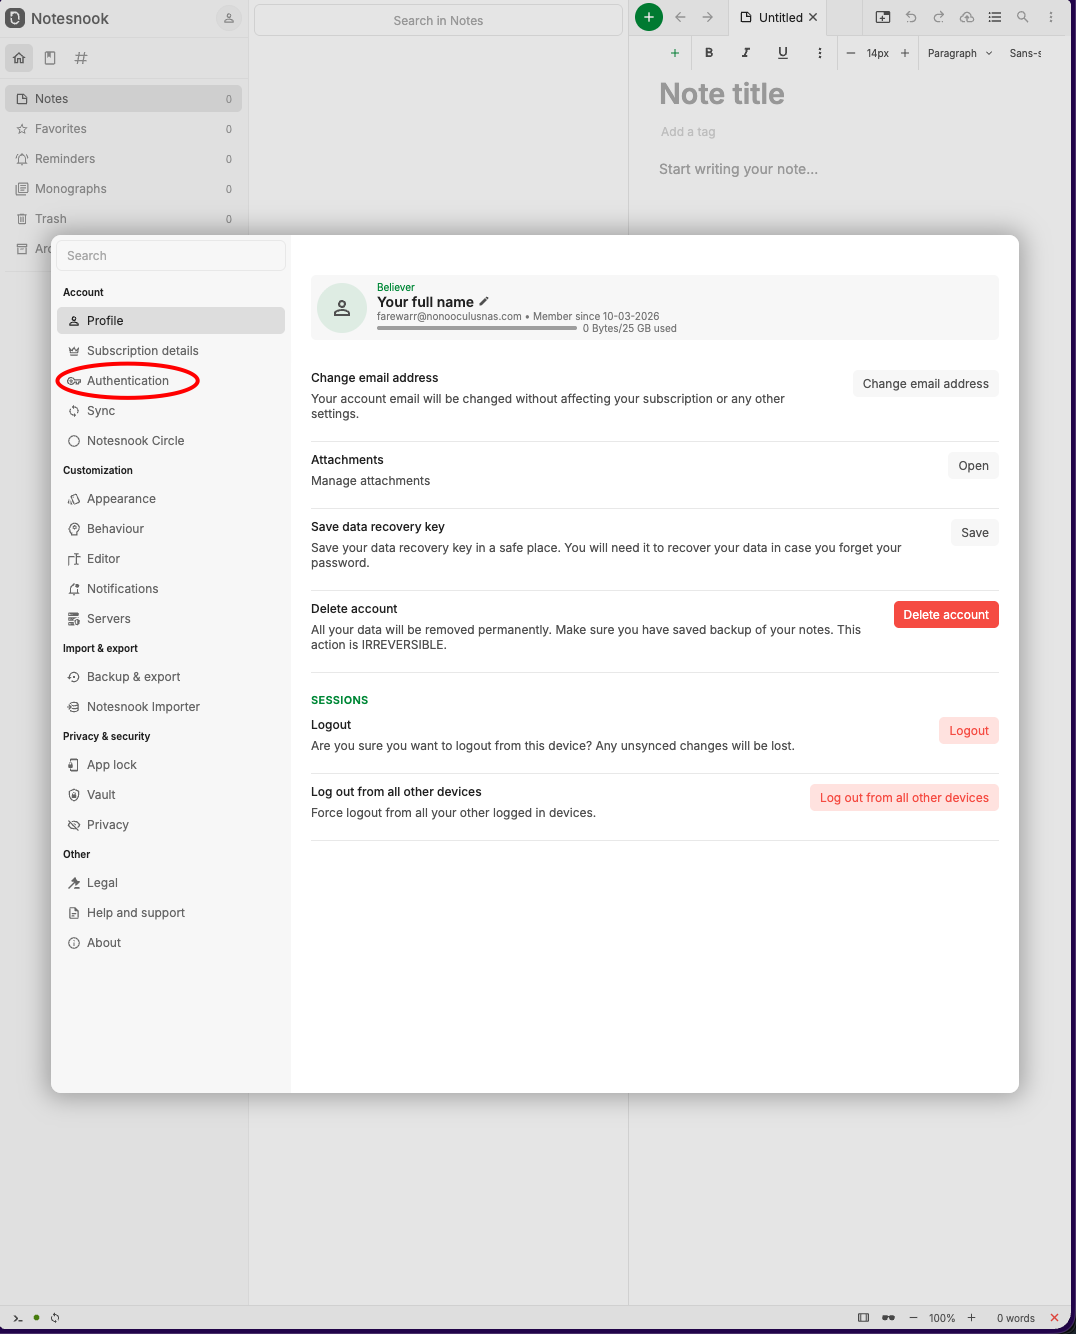
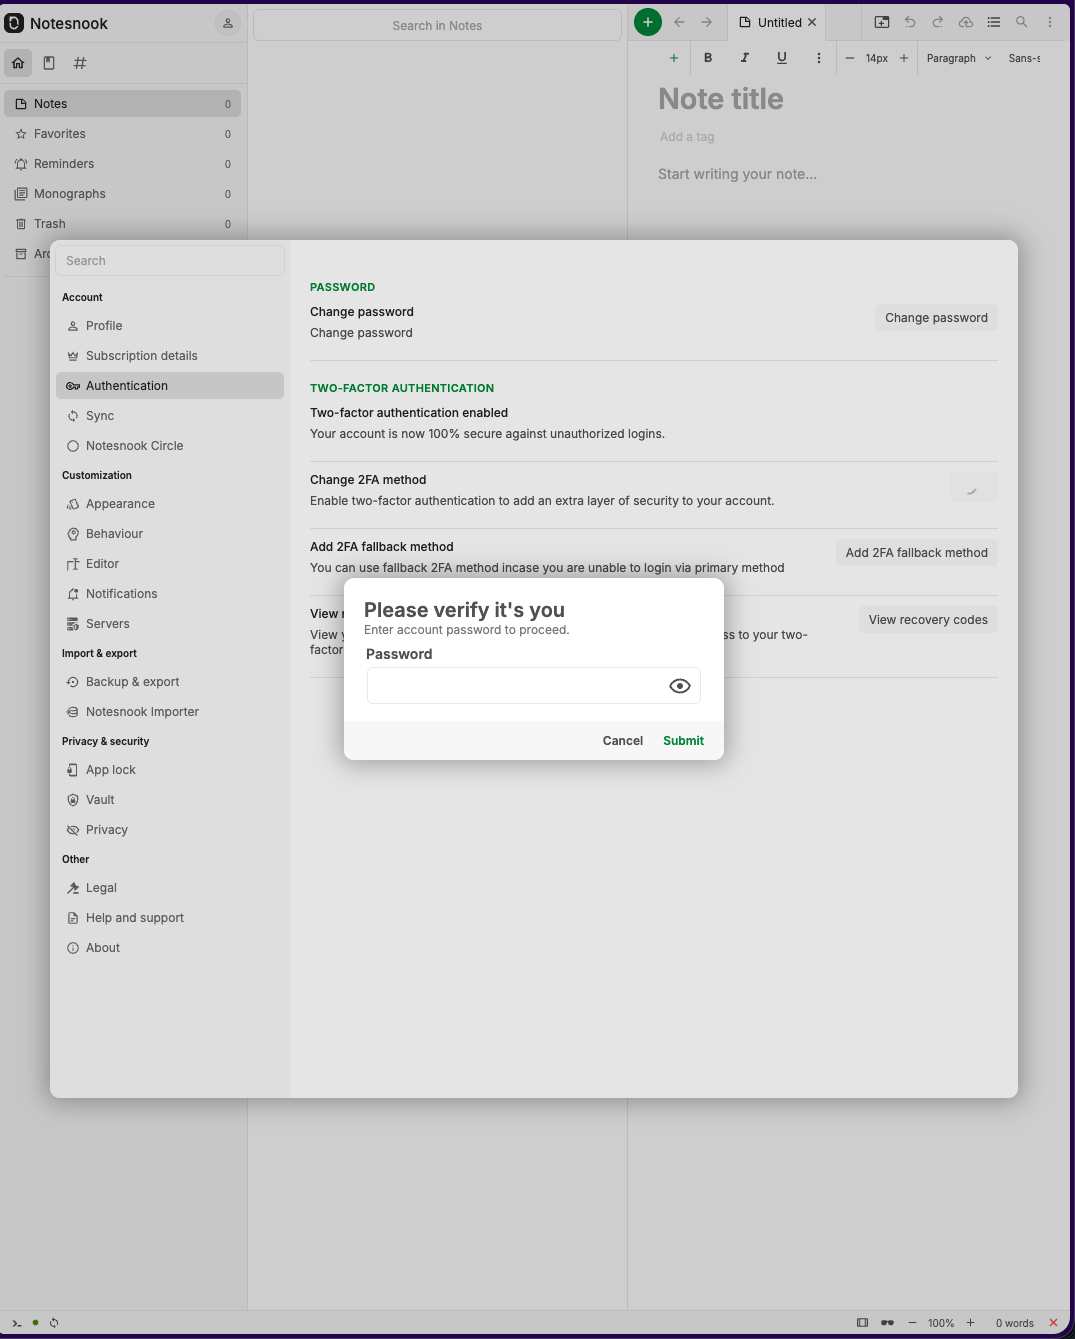
Click on the Authnentication tab
Click on “Change” to the right of the “Change 2FA Method”
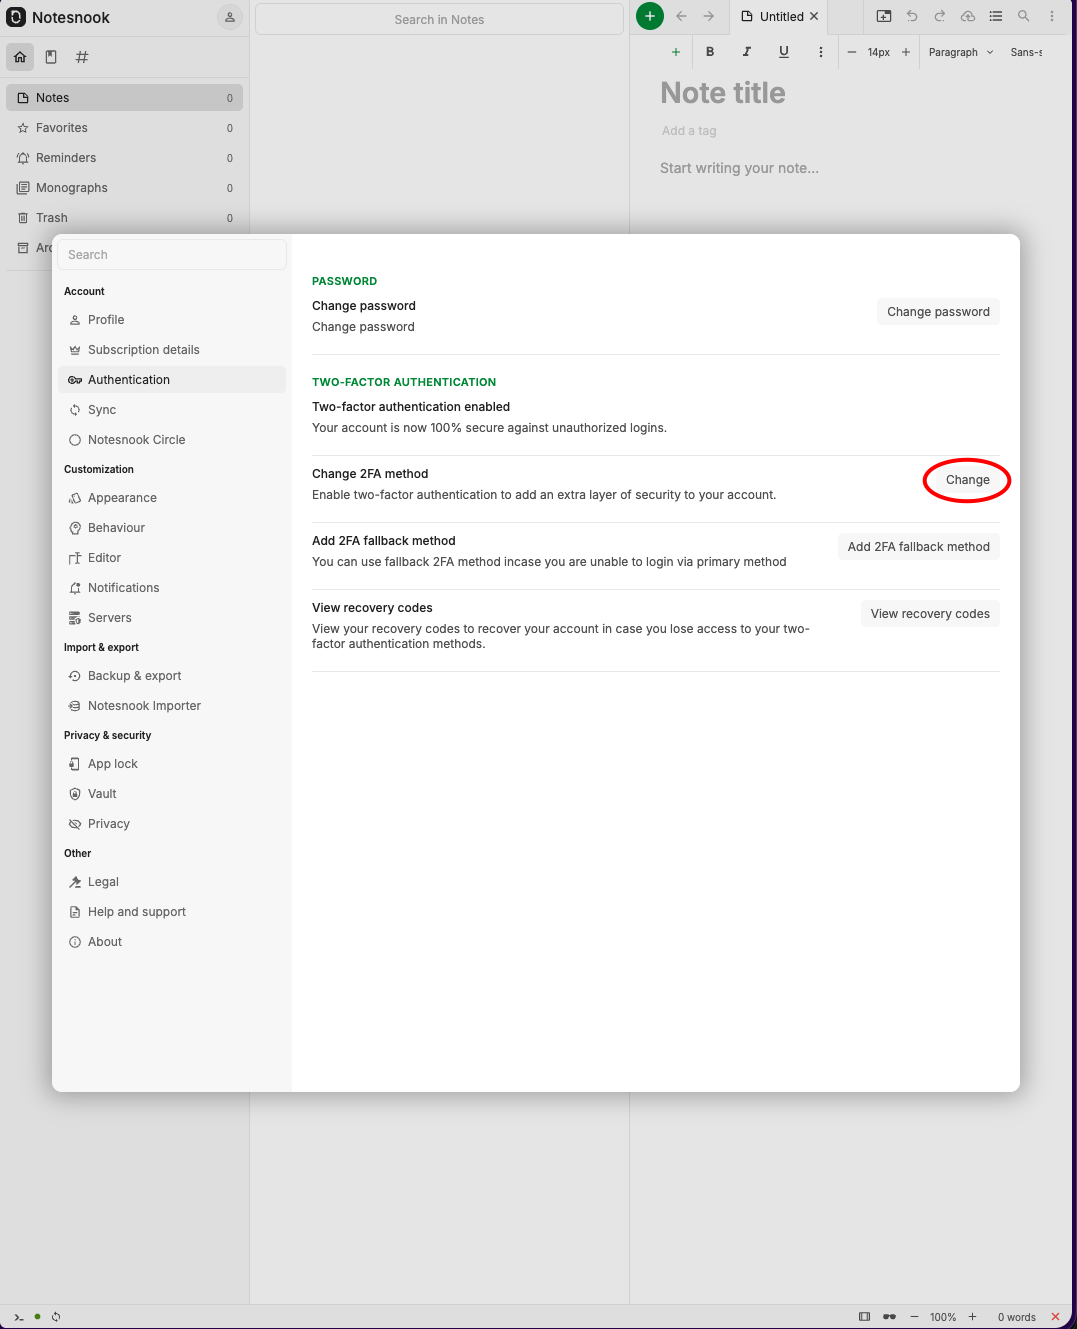
Enter your password that you had created a few moments ago.
From here you can choose to use an authenticator app (recommended)

At this point you can follow the prompts to complete the process.
Final Thoughts
Notesnook Devs are very responsive. Over the last two years they have made many updates and improvements to the app (which is available for multiple platforms like Windows, MacOS, Linux, and Web App) as well as their Sync Server stack. Self hosting not only allows you to take control of your data but it also allows you to play with the app with no limitations for free.
Resources
Notesnook Github: https://github.com/streetwriters/notesnook
Notesnook Sync Server Github: https://github.com/streetwriters/notesnook-sync-server
Notesnook Telegram Channel: https://t.me/notesnook
Notesnook Discord Channel: https://discord.com/invite/zQBK97EE22
You can reach me for questions or comments: askme @ fareedwarrad.com